
WORK ON THE CORONAL VIEW. USE THE SAGITTAL AND HORIZONTAL VIEWS AS REFERENCES.
Starting from the posterior of the brain is easier (that is, you can use command #4 above to speed things up). You can also start from the anterior of the brain, if you prefer. To start from the posterior, click on the most posterior point in the sagittal view. As a general rule of thumb, areas that are extremely bright are nerve tracts, which need to be excluded.
Posterior aspect of the brain: In the coronal view, use "+" and "-" to find the starting slice. Click on the region and use the sagittal and axial views to verify.

Coronal View Sagittal View
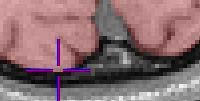
Axial View
Medial Aspect of Posterior Brain Regions: Sometimes the sagittal view may be confusing in this region. Use other two views to make your decision. Temporarily removing the label also helps.

Confluence of Sinuses: This area is located where the occipital lobe meets the cerebellum. Exclude this area before the two cerebellar hemispheres meet.
 Sagittal view Coronal view
Once the two cerebellar hemispheres meet, include the medial confluence of sinuses for masking convenience. Do not include the lateral confluence of sinuses.

Spinal Cord and Medulla: When the spinal cord appears in the coronal view, make the label level with the cerebelli, one of which may disappear earlier than the other in the due to asymmetry.

Maintain that level until the natural boundary appears.

Cerebellum area: As you move anteriorly, this area can look confusing. Here are some photos that show the cerebellar boundary in three views. The cursor location indicates areas that need attention.
 Sagittal view Coronal view Horizontal view
Trigeminal Nerve: Exclude this structure.
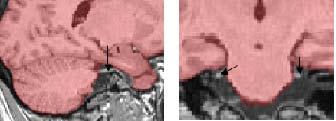 Sagittal view Coronal view
End of Pons: This region contains three nerve tracts that need to be taken out.
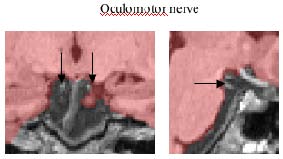
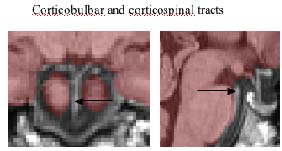 Coronal view Sagittal view
Temporal lobe: The medial and inferior boundary can be confusing, but it is usually faintly visible. Try switching the label on and off and using the other two views to make your decision. The arrows indicate the optic tract and the optic chiasm, which need to be taken out. If the optic tract is barely visible or is not easily accessible in the coronal view, leave it for convenience.


When the temporal lobe begins to shrink in the coronal view, clean up the meninges and nerve tracts on the edges as much as possible but leave those if they are deeply embedded between the temporal lobe and the inferior frontal lobe. Arrows indicate structures that shall not be labeled.
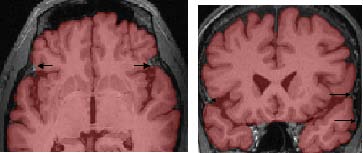
When the temporal lobe starts to disappear from the coronal view, use the sagittal view to find the ending point of the temporal lobe.

Anterior frontal lobe: The arrows indicate areas that need attention.

Superior and lateral boundary: Switch the label on and off to better distinguish the gray matter, CSF, and the meninges. Here are some examples; the cursors and arrows indicate areas that need attention.

In the coronal view, follow the natural boundary of the cerebellum and exclude the confluence of sinuses. Arrows indicate areas that need attention.

The arrows indicate a line that will start to fade. Exclude the brainstem until the line begins fading.

Then keep your horizontal cut off line above the cerebellum and above the trochlear IV nerve.
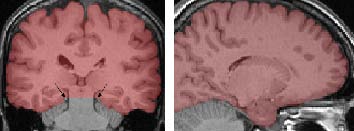
When the mid line starts to show in the pons region, use the mid line ending point as your cut off boundary.
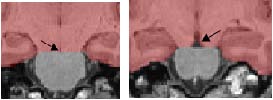
From this point on, label areas are the same as those in masks including the cerebellum.